


Share This Post:
There are a variety of platforms that can help assist your classroom or school to make virtual learning as simple and as smooth as possible.
I’ve found Seesaw to be one of the more user-friendly virtual platforms for parents, teachers, and students alike. It is fairly easy to set up, and once you get the hang of figuring out how to upload an assignment or schedule activities in advance, it makes for an easy experience!
Here are five tips on making the most of this great platform for remote learning.

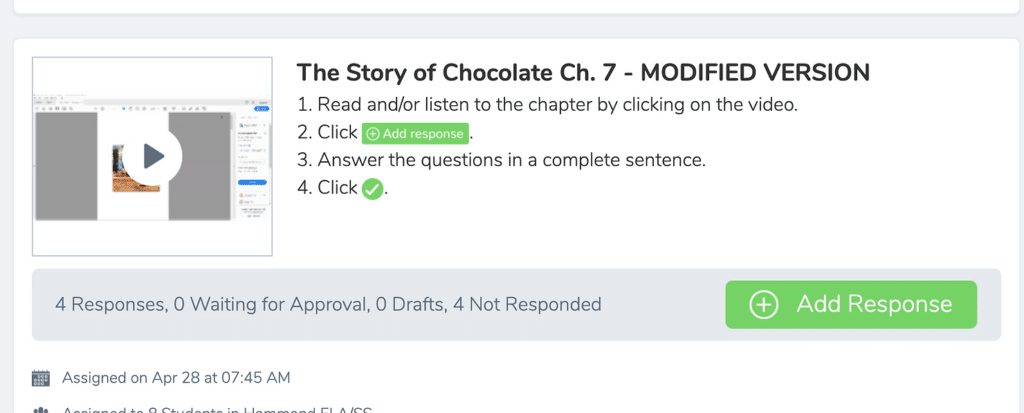
1. Be Clear with Instructions
I’ve found that listing the instructions in steps has helped students understand the activity I want them to complete. I use this handy SHEET to code in icons for the visual and ESL learners. You can record audio instructions as well. There’s also a way to add an example picture or video to the activity to show what the finished product should look like.
2. Differentiate the Same Assignment
It’s actually pretty easy to differentiate assignments based on student needs! To differentiate work, I would start with the activity that most students would complete.
Let’s say I want most of my students to watch a video and answer 10 questions. If I need to differentiate and provide a modified assignment for select students, I copy and edit the original assignment and take out what I need in order to modify.
When it comes time to assigning the activities to students, I change the default “All Students” and select the students needed.
3. Insert the Text Boxes Ahead of Time
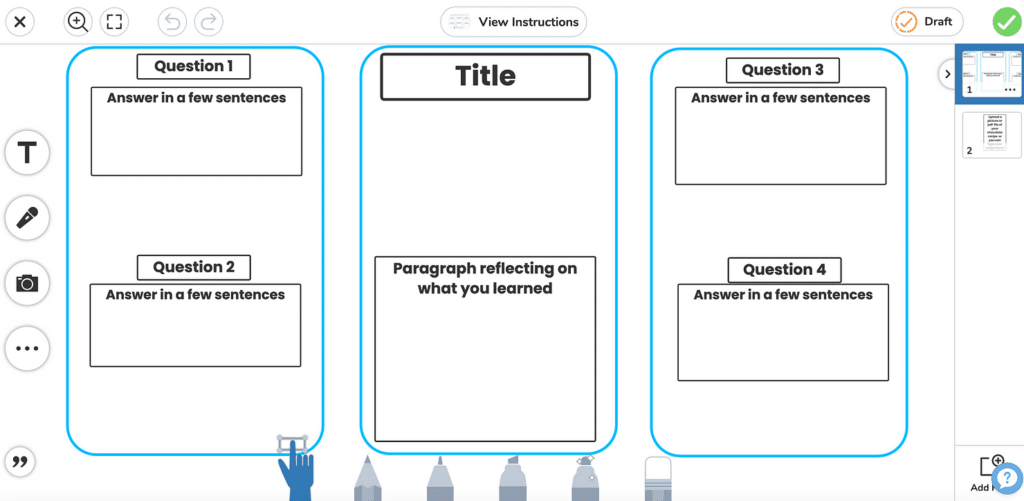
This tip is especially good for grades K-2 or first time users. Some students may have trouble adding text boxes and resizing. I always like to add text boxes to the student template as a start, and they can modify and change the font/color on their own. It gives them something to start with!

4. Build Community with Announcements and Messages
Get students excited for the day with a positive message! Every morning, I would post the daily agenda in the announcements section.
I also used the announcements tab to give any blasts or messages that I wanted to quickly get to the students. You can also post a note or message directly to an individual student’s journal!

5. Be Flexible!
This should be a given. If the activity says they need to have a video, but the student can’t get the video to upload, have them write or take a photo.
Always allow students to have the flexibility to submit the assignment in any way they can. Some students prefer to write down or draw the task on paper.
Here’s something to keep in mind – assignments that work well in the classroom may not translate well virtually (trust me on this)! And sometimes you won’t know until it’s too late!
Don’t be afraid to change it up when you see that students are having a hard time.
Seesaw is a great tool to use for virtual learning. It’s user-friendly, easily navigable, and a great way to stay connected.
kirsten hammond
Kirsten is a former 3rd and 5th grade teacher who loves helping upper elementary teachers by creating resources and sharing ideas that are engaging, research-based, and TEKS-aligned. She is a work-from-home mama of 3 rambunctious little ones and loves running, true crime, and lots of coffee.